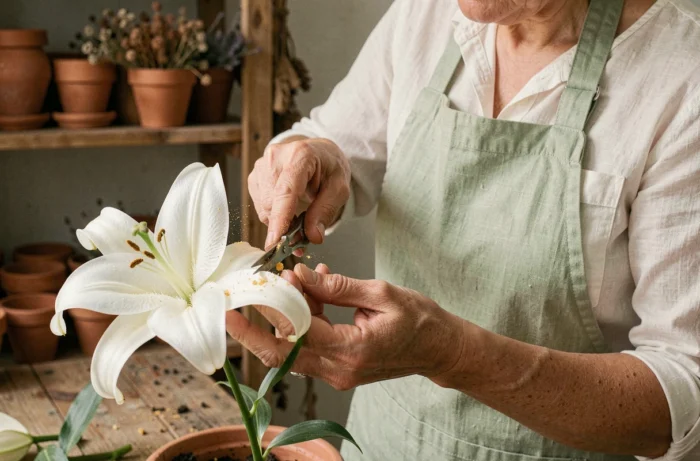
Lily pollen stains textiles, fingers, and the petals themselves. Before attempting to remove these stains, it’s important to understand which part of the flower to touch exactly and when to intervene. Because the confusion between the pistil and stamens persists in most guides, it radically changes the action to be taken.
Pistil or stamens of the lily: what you are really cutting
The term “cut the pistil” has become common language, but it actually refers to two distinct organs. The pistil is the central female organ of the lily, topped with a sticky stigma. The stamens, numbering six, each bear an anther loaded with pollen. It is the anthers that stain, not the pistil.
| Organ | Function | Staining risk | Should it be removed? |
|---|---|---|---|
| Pistil (central organ) | Female reproduction | Low (slightly sticky stigma) | Optional |
| Stamens (6 filaments) | Pollen production | High (very pigmented orange/yellow pollen) | Yes, as soon as the flower opens |
In practice, when we talk about cutting the lily pistil, we should say “removing the anthers.” The pistil alone poses almost no problem. Removing the stamens is sufficient in the vast majority of cases to eliminate any risk of staining on a tablecloth, clothing, or the white petals of the lily.
This distinction matters because it changes the action. Cutting the central pistil shortens the flower’s lifespan without solving the pollen problem. Pinching the anthers at the right moment, on the other hand, preserves the structure and eliminates the source of pigmentation.
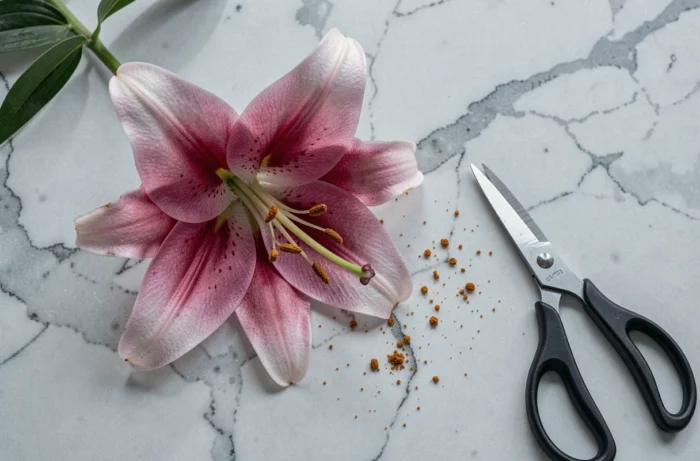
Removing the anthers from the lily: the dry technical gesture
Timing is crucial for success. Intervene as soon as the bud opens and before the anthers release their pollen. At this stage, the pollen is still compact on the anther, and the risk of dispersion remains minimal.
Materials and method
- Pinch each anther between your thumb and index finger, gently pulling outward. Dry fingers or a piece of absorbent paper are sufficient. Pruners are unnecessary for the anthers; reserve them for cutting the stems.
- If the pollen has already started to release, use adhesive tape applied directly to the anther to detach it without dispersing the powder. A lint roller also works.
- Never wet the pollen during the operation. Water turns pollen dust into a fixed stain, much more difficult to remove from petals or fabrics.
Lilies in bouquets open their buds in a staggered manner. Monitor each day for new flowers blooming and remove the anthers as they appear.
Is it also necessary to cut the central pistil?
Not necessarily. The pistil does not release pollen, and its presence maintains the natural architecture of the flower. Some remove it for aesthetic reasons, especially on white lilies where the green stigma can visually stand out. In this case, cut it with fine scissors at the base, without pulling, to avoid tearing the petals.
Lily pollen on textiles: dry removal above all
Despite precautions, pollen can land on fabric. The reflex to rub or splash with water is the worst scenario. Rubbing and water embed the pigment into the textile fibers.
The effective method is to apply wide adhesive tape to the affected area and then remove this tape with a firm motion. Repeat with a clean piece until the powder is gone. This technique works on cotton, linen, and most synthetics.
If a residual stain persists after dry removal, expose the fabric to direct sunlight. Lily pollen pigment is photosensitive and fades within a few hours under UV light. Only after these two steps can a regular wash be considered without the risk of fixation.
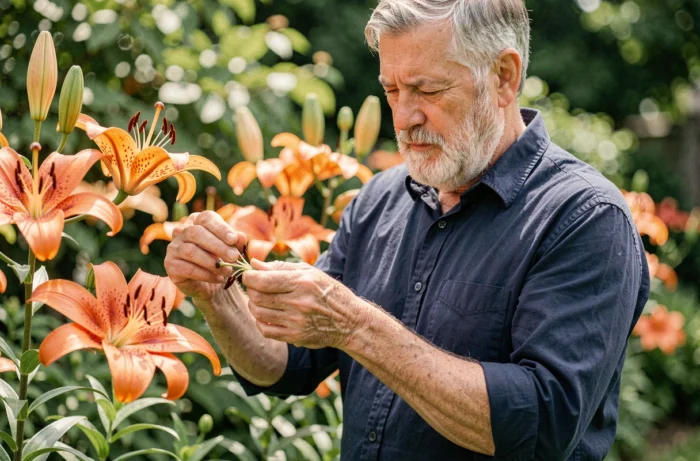
Caring for the lily after removing the anthers: preserving the bulb
Removing the anthers does not change the lifespan of the cut flower in a vase. However, for a lily planted in the ground, the subsequent care directly influences the flowering of the following year.
Once each flower has faded, cut the small flower peduncle at its base, where it joins the main stem. Keep the stem and especially the foliage intact as long as they remain green. The leaves feed the bulb through photosynthesis and allow it to store the energy needed for the next flowering.
The complete cutting of the stem should only occur after the foliage has yellowed and then completely dried. Cutting the stem too early deprives the bulb of its reserves and compromises the regrowth in the following spring.
Soil and watering post-flowering
Maintain moderate watering after flowering, sufficient to keep the soil slightly moist without being waterlogged. The lily does not tolerate excess water well, which promotes bulb rot. A light mulch around the base helps regulate moisture and protects the bulb from temperature fluctuations.
For potted lilies, the same principles apply. Ensure effective drainage and gradually reduce watering as the foliage yellows.
The act of removing the anthers from the lily takes just a few seconds per flower and saves hours of cleaning. The real challenge lies afterward: preserving the foliage long enough for the bulb to recharge. This detail, more than the cutting itself, determines whether your lilies will bloom again the following season.