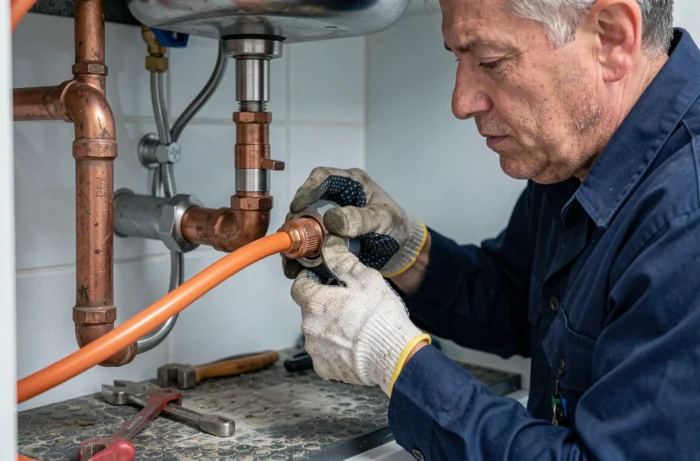
The PEX (cross-linked polyethylene) and copper coexist in most renovated homes. Connecting these two materials requires a suitable transition fitting, correct sizing, and some thermal precautions that are often overlooked. The choice of connection type – compression, crimping, or push-fit – depends on the diameter of the pipes, the accessibility of the junction, and the fluid being transported.
Thermal constraint in hot water: copper mandatory at the water heater outlet
Most guides detail the installation process without addressing the thermal regulations governing the copper-PEX junction. However, the NF DTU 60.1 standard imposes a minimum of 50 cm of copper pipe between the water heater outlet and the temperature limiter before any transition to PEX.
This length of copper ensures sufficient thermal dissipation to protect the PEX, which has lower resistance to high temperatures compared to copper. The temperature limiter itself is legally required on PEX pipes for hot sanitary water, including in renovated older homes.
In practice, during a partial renovation where one wishes to connect PEX to copper at the water heater outlet, it is necessary to maintain or install this section of copper before the transition fitting. Removing this segment to save time exposes the PEX to premature aging and non-compliance issues.
Copper and PEX diameters: correspondences to check before any purchase
The most common mistake is to assume that a 16 mm copper pipe and a 16 mm PEX pipe have the same useful diameter. The two systems use different measurement conventions.
Copper is measured by outer diameter. PEX is also referred to by its outer diameter, but the wall thickness differs. A copper 14/16 (14 mm inner, 16 mm outer) does not directly correspond to a PEX 16 (which has a smaller inner diameter, often around 12 mm).
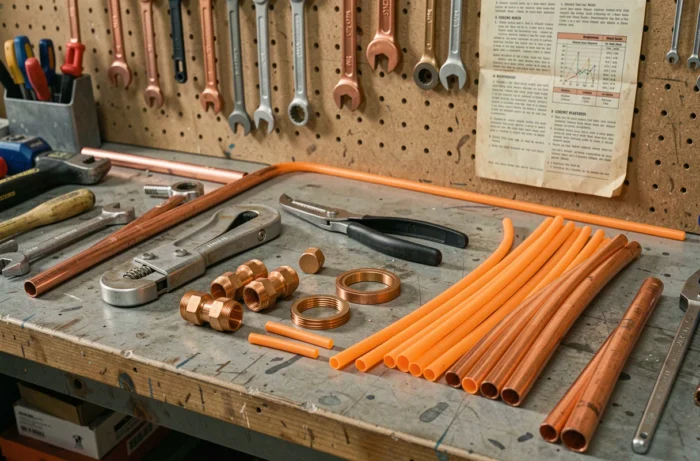
Before purchasing a transition fitting, it is essential to accurately measure the outer diameter of the existing copper pipe with calipers. Common sizes in residential settings are 12, 14, and 16 mm in copper. The fitting should clearly indicate the two diameters it connects, for example, “copper fitting 14 – PEX 16”.
Threaded or tube: a distinction not to be confused
On an existing installation, the copper outlet can be a smooth tube or a threaded end (male or female). A compression fitting for a smooth tube is not suitable for a threaded connection, and vice versa. Identifying whether the copper stub is threaded or smooth determines the type of fitting to select.
Compression, crimp, or push-fit: which to choose for a copper-PEX junction
Three families of fittings allow the transition between copper and PEX without welding. Each has a specific area of use.
- The compression fitting (known as “bicone” on the copper side) is tightened with a flat wrench. It is suitable for accessible installations where subsequent tightening is possible. The brass seal or copper olive ensures sealing through controlled deformation on the pipe.
- The crimp fitting requires a crimping tool suitable for the fitting profile. The connection is permanent and more reliable over time, particularly recommended for concealed or slab installations where any subsequent intervention would be destructive.
- The push-fit fitting (type push-fit) engages by simply inserting the pipe. It provides quick solutions, but its long-term reliability is debated among professionals, especially for heating circuits subject to temperature variations.
For a concealed copper-PEX junction, crimping remains the safest choice. In exposed and accessible situations, compression offers a good compromise between cost and strength.

The role of the reinforcement insert on the PEX side
Since PEX is a flexible pipe, any compression or crimp fitting requires a reinforcement insert (or sleeve) made of brass slid inside the pipe. This insert prevents the pipe from collapsing under the tightening pressure and ensures the water passage section.
Omitting the insert is the classic mistake of a hurried DIYer. The fitting may seem secure upon assembly, but the gradual deformation of the PEX causes a leak after a few weeks, or even days, under heating pressure.
Installation errors that cause leaks on a copper-PEX fitting
Beyond incorrect sizing, several installation practices compromise the sealing of the junction.
- Cutting the PEX pipe with an unsuitable tool (saw, cutter) results in an angled or rough cut. Only a PEX pipe cutter guarantees a clean and perpendicular section, necessary for the insert to fit straight and for the seal to work evenly.
- On the copper side, a poorly deburred pipe (internal burrs after cutting) prevents the fitting from positioning correctly. A reamer or a simple deburring tool is sufficient.
- Tightening a compression fitting with a wrench instead of two flat wrenches (one to hold the body, the other to turn the nut) causes twisting of the copper pipe and improper crushing of the olive.
- Never use thread seal tape or Teflon on a compression fitting for smooth pipe: sealing occurs metal against metal via the olive, not through a thread seal. Adding Teflon distorts the tightening torque.
Pressure testing
After assembly, gradually open the water supply and check for any leaks for several minutes. On a heating circuit, a pressure test (generally one and a half times the service pressure) allows validation of the integrity before closing the walls.
The copper-PEX junction does not pose any major technical difficulties when the fitting is correctly sized and the cutting, deburring, and tightening rules are followed. The most often overlooked point remains the regulatory constraint in hot water: these 50 cm of copper at the water heater outlet and the temperature limiter are not optional, even on a partial renovation site.